The Levator Labii Muscle and Nasolabial Folds
Using the Nuvicor device to reduce the Nasolabial fold - Training the Levator Labii Muscle

Nasolabial Fold Elimination: LEVATOR LABII MUSCLE
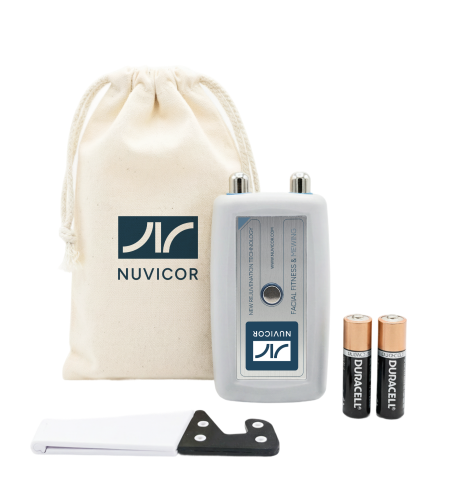
Below is the workout routine for the Levator Labii muscle. This training is performed using the specialized Nuvicor device, which dramatically boosts workout efficiency, allowing you to see initial results in just a couple of weeks.
Method of Application
1
The simplest way to engage this muscle is to mimic an expression of anger or rage. For optimal results, learn to tuck your lips behind your teeth and tense the muscles from that position. Practice in front of a mirror first.
Fig. 1 shows:
A – Location of the Levator Labii muscles.
B – Placement of device contacts: to the side of the nostril and under the edge of the cheekbone (C).
Fig. 1 shows:
A – Location of the Levator Labii muscles.
B – Placement of device contacts: to the side of the nostril and under the edge of the cheekbone (C).
2
Positioning: Press the two metal contacts to the skin as shown. Keep your finger pressed against the metal contact on the device housing at all times.

Figure 1
3
Visual Feedback: Mimic a rage expression and watch the red bar on the left. It rises as the muscle tenses and drops when relaxed (Fig. 2). Perform this slowly several times to ensure correct form.
4
Press "OK" to begin the exercises.

Figure 2
Test
1
Purpose: The TEST is performed before exercises so the app can automatically adapt to your physical capabilities.
2
Preparation: Clean your skin with a tissue and position the device correctly on your face.
3
Execution: Follow the voice commands. Once the test starts, tense the muscle with maximum effort three times in a row. The on-screen graph should match the provided illustration (Fig. 3).
4
Completion: Repeat the test if necessary and save your results.
Your test results from each session serve as the primary objective indicator of your muscle improvement.

Figure 3
Exercise #1: Restoring Muscle Volume
1
Clean your skin with a tissue and position the device correctly on your face.
2
Verify that the red vertical line on the left is at the bottom when your muscles are relaxed and rises when you contract them.
3
Action: Press START. Follow the voice prompts to perform five muscle contractions. Aim to push the graph above the red line, as shown in the figure.
4
Repetition: Repeat the exercise after a short rest.
Reminder: Keep the device pressed firmly against your skin throughout the entire set.

Figure 4
Exercise #2: Restoring Muscle Strength
Your goal is to control muscle tension so that the graph passes gradually through all the colored squares. Straying outside the squares is considered an error.
1
Press "START", listen for voice commands, and monitor the graph on the screen (Fig. 5).
2
Repeat the exercise after a rest period.

Figure 5
Focus on precision and maintain firm device contact.
Exercise #3: Restoring Muscle Tone
In this exercise, a video will be displayed instead of a graph.
1
Action: Press "START" and maintain a constant, steady muscle tension.
2
Biofeedback: The video will play only when muscle tension is sufficient (Fig. 6A). If tension drops, the screen will go black (Fig. 6B). Simply increase tension slightly to resume playback.
3
Intervals: A break is provided every 30 seconds. Repeat the cycle after resting.
You can customize your experience by selecting your own videos or via the "VIDEO" button.

Figure 6
Results Window
After completing the exercises, a window with your session results will appear. It aggregates data on the performance of the trained muscle during the test and across all exercises (Fig. 7). You can save this window as an image to your phone's gallery by pressing the SAVE button.
The END OF SESSION button ends the session and returns you to the start window.
The END OF SESSION button ends the session and returns you to the start window.

Figure 7
View History
The results of all exercises (Fig. 8) can be viewed by pressing the RESULTS button in any window.

Figure 8